1. Click the New Test icon on the toolbar:
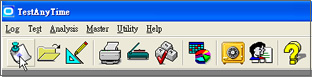
2. The New Test window appears. Note that the Quick Start is selected by
default for a new test project.
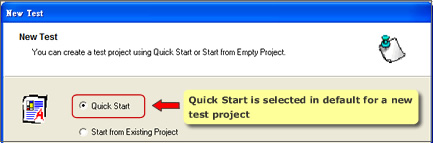
3. Then click the Start button on the bottom.

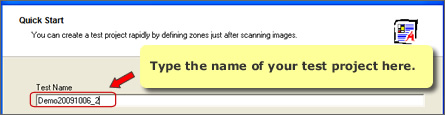
4. In the next window, type the name of your test project.
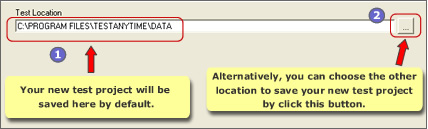
4.1. Your new test project will be saved by default in
C:\PROGRAM FILES\TESTANYTIME\DATA
4.2. Alternatively, you can save your new test project in the other location by
clicking the botton on the right.
5. Click the Create button on the bottom.

6. A blank test project is successfully created.
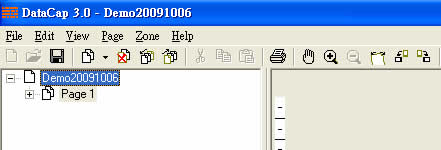
Below is an interactive demonstration for the instructions mentioned above:
